|
Getting Started
1. Requires: USB D Cable
2. Download the latest Arduino IDE Software from the Arduino website and install it.
Pre-requisites: Java Runtime Engine
Board Configuration: If your board contains ATMega8 then please select Arduino NG or older / Atmega8 from Arduino IDE Software Boardsmenu.
Powering your Freeduino USB:
1. Supplying power via 9V/1A DC Power Adapter (sold separately).
2. Via USB (changing jumper settings)
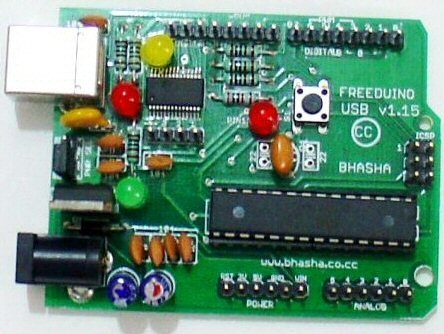
The Freeduino USB board is equipped with jumper setting to switch between External DC power adapter source and power via USB. Refer the illustration below to suit your needs.
For Linux Users
Port Selection from Arduino Software IDE: Tools Option Serial Port /dev/ttyUSB0
Port Selection from Arduino Software IDE: Tools Option Serial Port Virtual COM1 or Virtual COM3 (based on your PC Configuration)
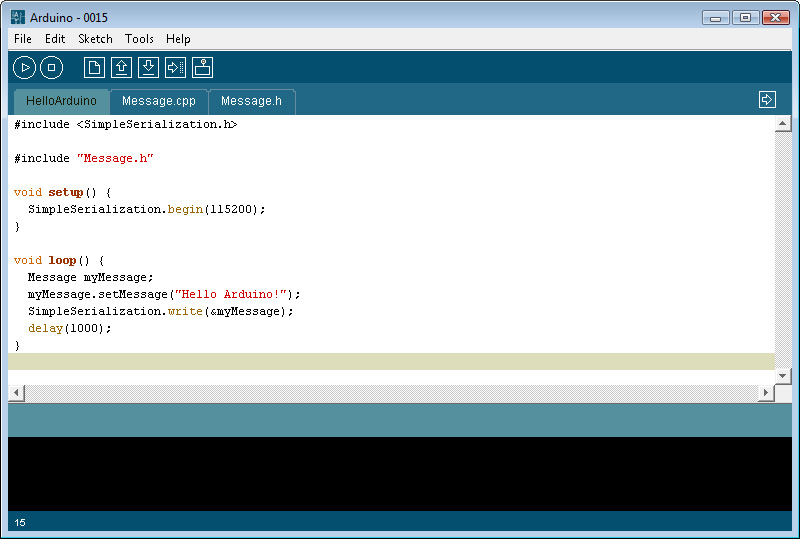
Running your first Freeduino USB program
For Windows Users
Open file → Sketch book → Examples → Digital → Blink
Compile the program by clicking the (PLAY) button, and then select File Upload to I/O Board or Press Ctrl + U, Pin 13 should be blinking.
You should see the two LED’s on the board flashing. You should see the message “Done Uploading” in the output window of the Arduino IDE software. The program has been successfully uploaded to the board.
CAUTION: Don’t click Tools Program Boot loader, in the Arduino IDE Software.
This may corrupt your existing boot loader and the board may not function properly.
|


 Impressum Datenschutz

